
Introduction
In this ninth entry of our VCF 9 Deployment series, we shift focus to VCF Automation. With VCF 9, Automation gives us the possibility to create two types of organizations. In the context of VMware Cloud Foundation (VCF) and VCF Automation, an Organization is a logical grouping of users, resources, and policies that helps define and isolate environments for different teams, applications, or business units.
- All Apps Organization – That type of organization was introduced with VCF9. It is based on Tanzu services and is the primary multi-tenancy model within VCF Automation.
- VM Apps Organization – This is a well-known specialized organization type introduced to simplify the VCF automation experience by scoping it only to VM-centric use cases. That classic tenant is a well-known Aria Automation 8.x with minor changes.
This time, I will show you how to configure Classic Tenant. If you used Aria Automation 8.x previously and you are upgrading it to version 9, it will be visible in VCF Automation as Classic Tenant.
If you didn’t see previous posts, go to:
VCF 9 Deployment PART1: Topology, ESX Host Preparation and VCF Installer deployment
VCF 9 Deployment PART2: VCF deployment
VCF 9 Deployment PART3: VCF Operation for Logs deployment.
VCF 9 Deployment PART4: VCF Single Sign-On configuration (Identity Broker and vCenter).
VCF 9 Deployment PART5: VCF Single Sign-On configuration (NSX Manager).
VCF 9 Deployment PART6: VCF Single Sign-On configuration (VCF Operations).
VCF 9 Deployment PART7: VCF Single Sign-On configuration (VCF Operations for Logs).
VCF 9 Deployment PART8: VCF Single Sign-On configuration (VCF Automation).
VCF Automation – Create VM Apps Organization
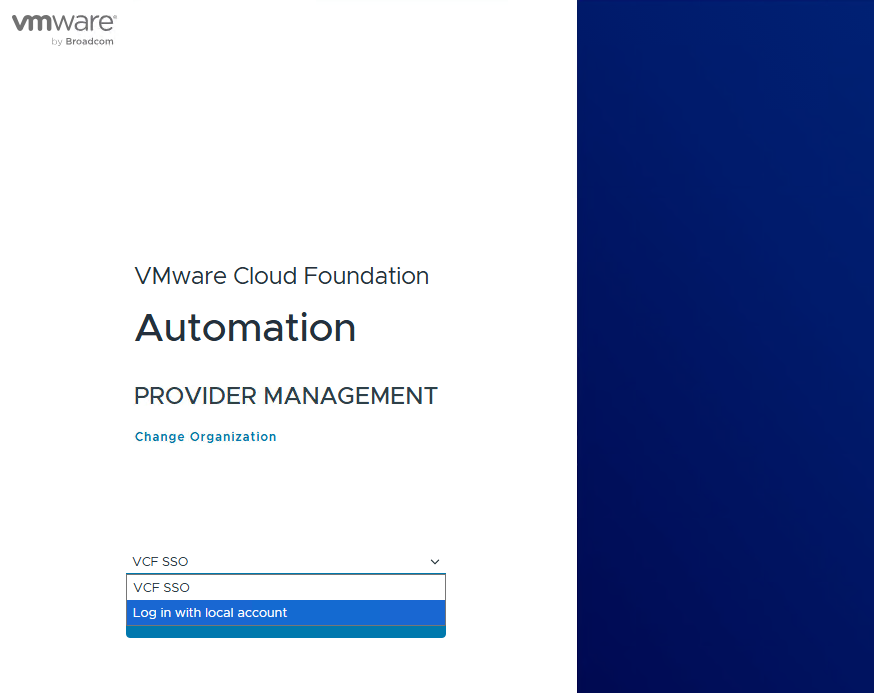
- Log in to the
VCF Automation Provider Managementportal. In my case, the URL looks like:
https://vcf9-md01-vra01.blanketvm.com/provider
In one of the previous blog posts, we configured VCF SSO in the VCF Automation. That is the reason why you can see VCF SSO on the authentication provider list. I’m going to use a local admin account, so I switched to Log in with local account, but you can use any account with the required privileges.

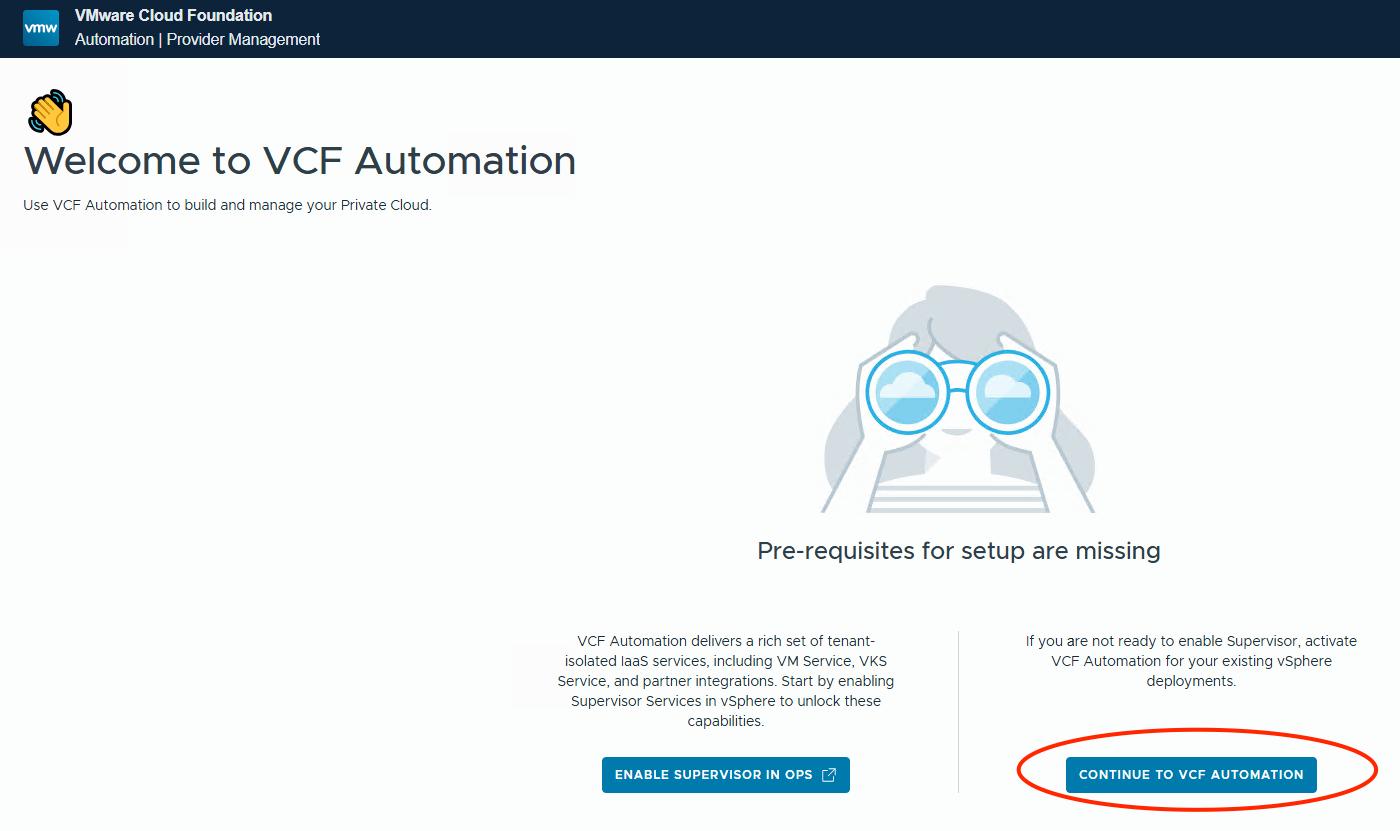
- When you log in, click on
Continue to VCF Automation. It allows you to configureVM Apps Organizationwithout enabling the Supervisor cluster, which is required for theAll Apps Organization.
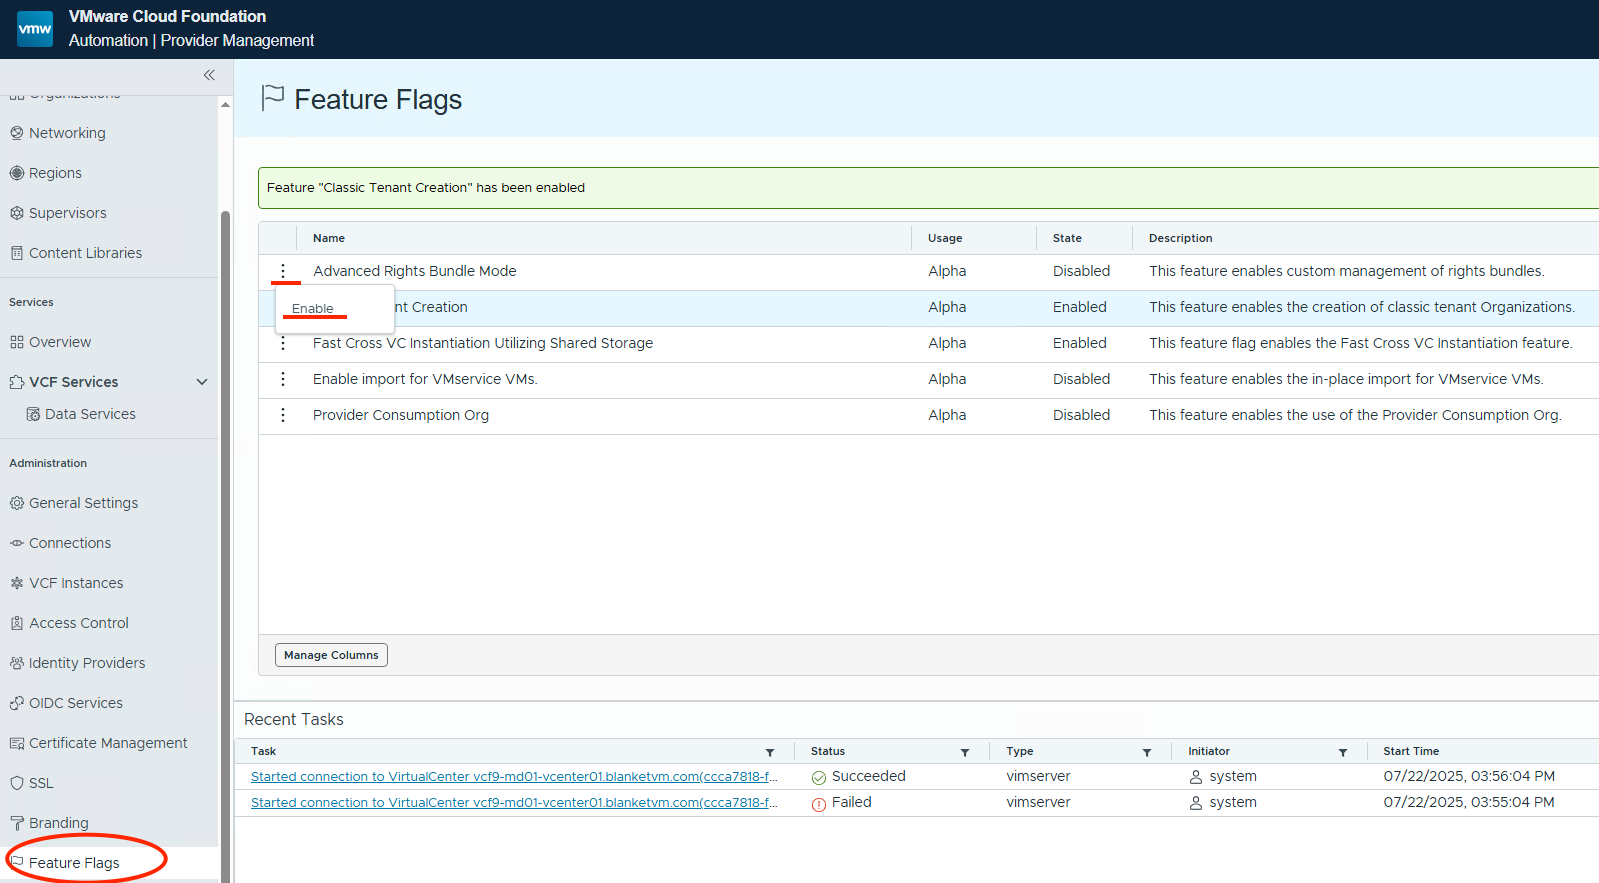
- Classic Tenant creation is disabled by default, and VMware pushes us to use
All Apps, but we can enableVM Appsin the configuration.
Go toFeature Flagsand click on the three dots next toClassic Tenant Creationandenablethat feature.

- I would also recommend enabling the second feature called
Advanced Rights Bundle Mode(allows external solutions to add custom permissions to the system). We will need it later.
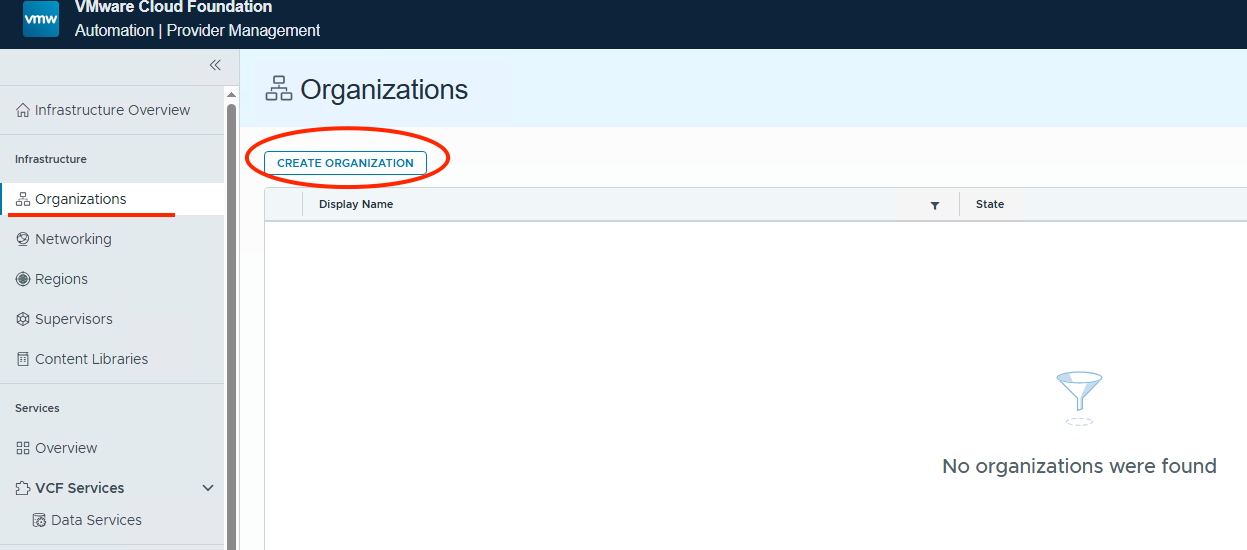
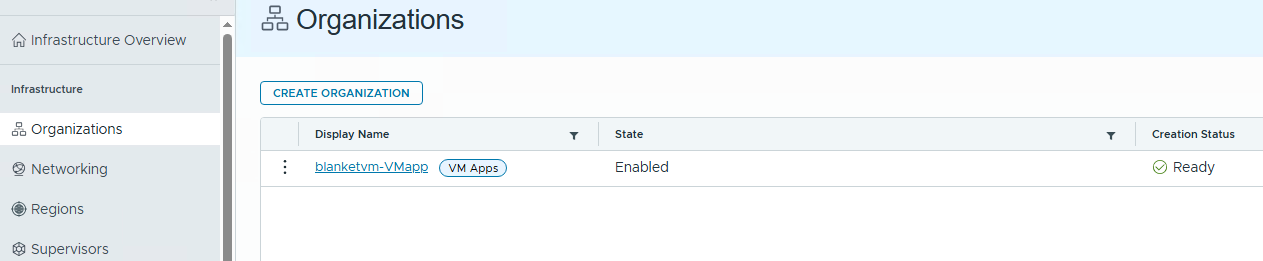
- Now, we can create a
VM Apps Organization. Go toOrganizationsand click theCreate Organizationbutton.
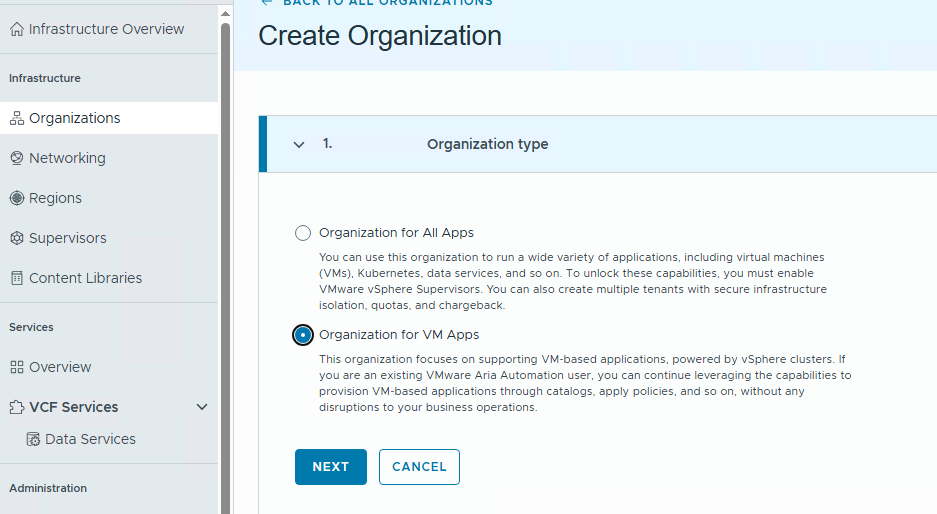
- Choose the organization type and click
next.
Organization for All Apps
You can use this organization to run a wide variety of applications, including virtual machines (VMs), Kubernetes, data services, and so on. To unlock these capabilities, you must enable VMware vSphere Supervisors. You can also create multiple tenants with secure infrastructure isolation, quotas, and chargeback.
Organization for VM Apps
This organization focuses on supporting VM-based applications, powered by vSphere clusters. If you are an existing VMware Aria Automation user, you can continue leveraging the capabilities to provision VM-based applications through catalogs, apply policies, and so on, without any disruptions to your business operations.
- Type
NameandDescription. Remember, you can access theOrganizationusing the VCF Automation URL or directly through:
https://VCFAfqdn/login/?service=tenant:ORG_NAME, so, in our case: https://vcf9-md01-vra01.blanketvm.com/login/?service=tenant:blanketvm-VMapp

- We have to create a first administrator user for our organization. Type
User nameandPassword, then assign administrative roles to the account. I assigned:- Organization Owner
- Service Broker Administrator
- Orchestrator Administrator
- Assembly Administrator

- Click
Add User and Finish, and we have our organization created.
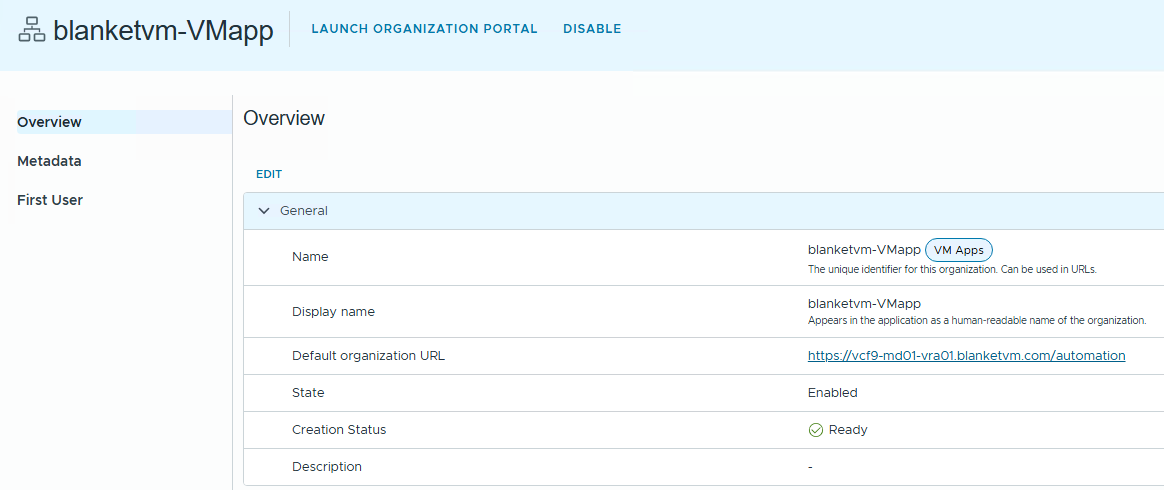
Click on the Organization to see details.
VCF Automation – Basic Integrations (SDDC Manager and VCF Operations Orchestrator)
- Open our
Organizationby opening: https://vcf9-md01-vra01.blanketvm.com/automation and changing the organization by typing its name. Or directly with the organization name in the URL:
https://vcf9-md01-vra01.blanketvm.com/login/?service=tenant:blanketvm-VMapp
Log in using the user created in step 8 before.

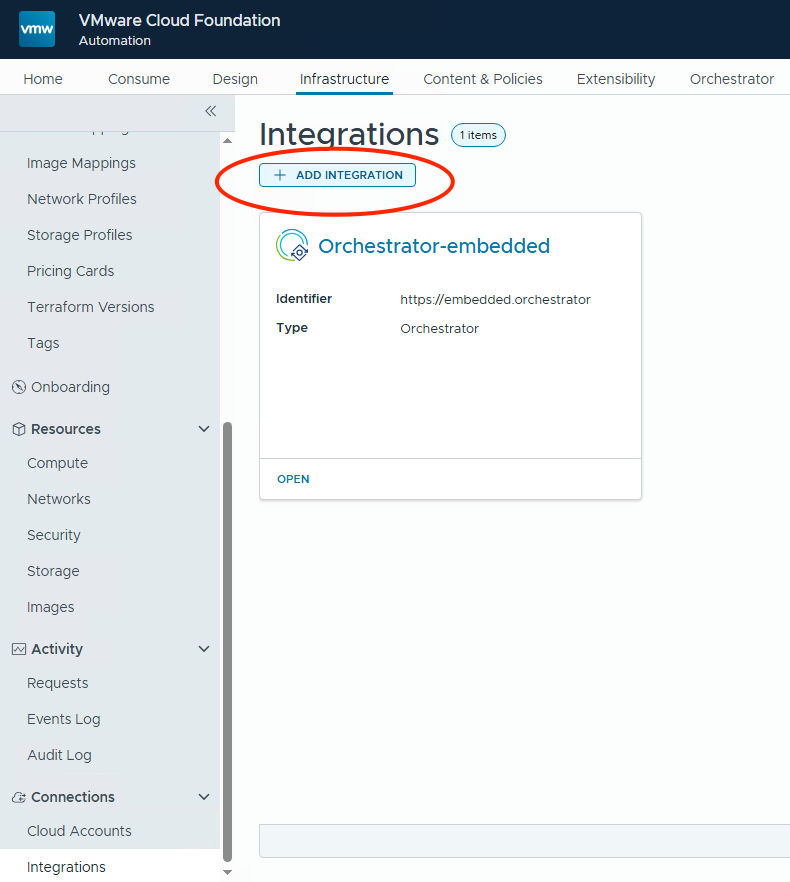
- Go to the
Infrastructuretab and click on theIntegrationsin the bottom left corner.
As you can see, there are no integrations automatically created for the VM Apps organization.
ClickAdd Integration.

- Select
Orchestratorfrom the integration types list.

- Fill all required fields to make an integration with the embedded
Orchestratorinstance.
Name: Type integration name
Description: Description for integration
Status: Click to enable endpoint
VCF Operations Orchestrator instance: Select Embedded (or user-deployed if you want to use an external instance).
Capability tags: leave blank now, but if you know how to use capability tags, you can add a tag here. If you want to learn more about Capability tags, go to the documentation.

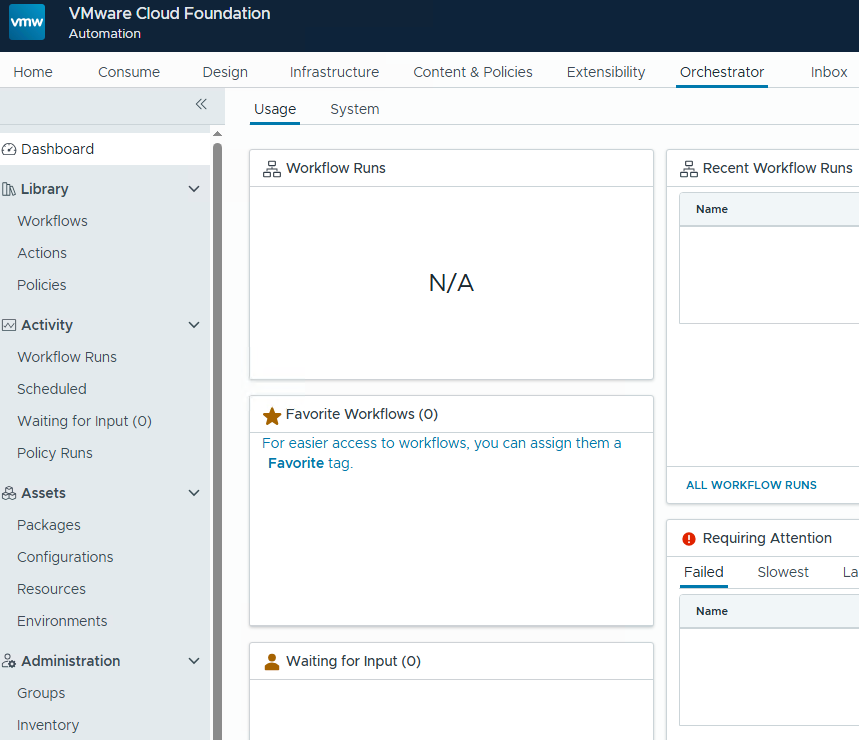
- Switch to the
Orchestratortab to confirm that the integration works.
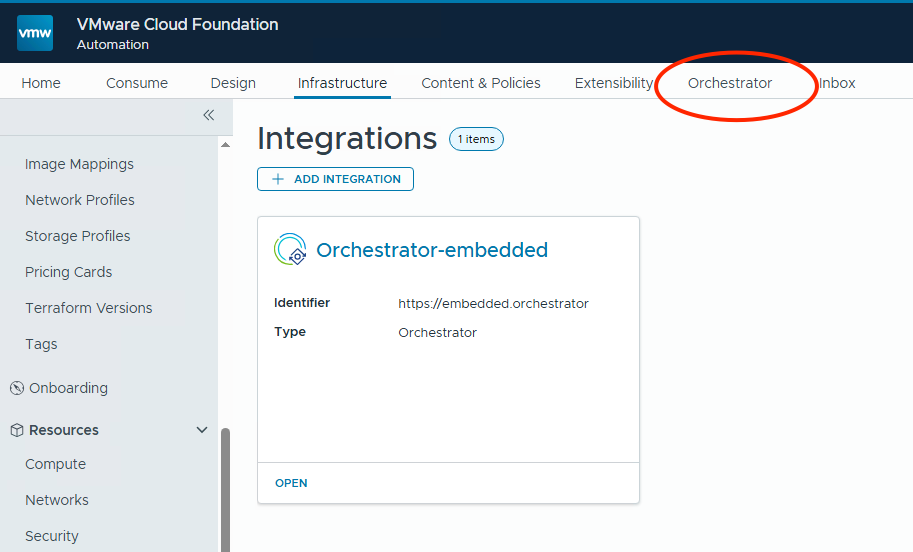
If you see the workflows dashboard, everything should be fine.
- Go back to the
Infrastructuretab, then selectIntegrationat the bottom left corner and clickAdd Integrationto add another integration.
- This time, choose the
SDDC Managerintegration type.

- Fill the required fields for the
SDDC Managerintegration.
Name: Type the name of the integration.
Description: Description for integration
SDDC Manager IP address/FQDN: Use the FQDN of the SDDC Manager.
Credentials: Because SDDC Manager does not support VCF SSO for logging, using the administrator@vsphere.local account is the easiest method.

Click Validate and accept the certificate. And Add integration.

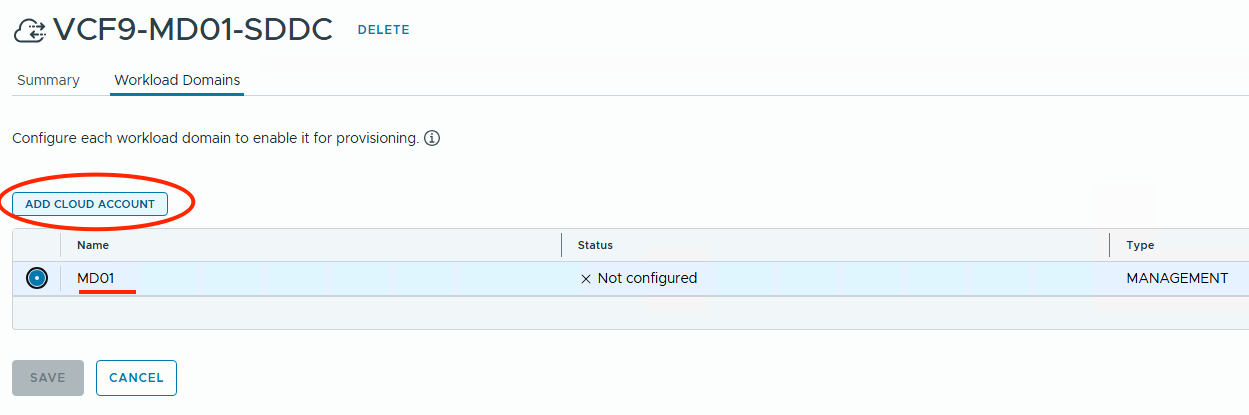
- Open the
SDDC Managerintegration
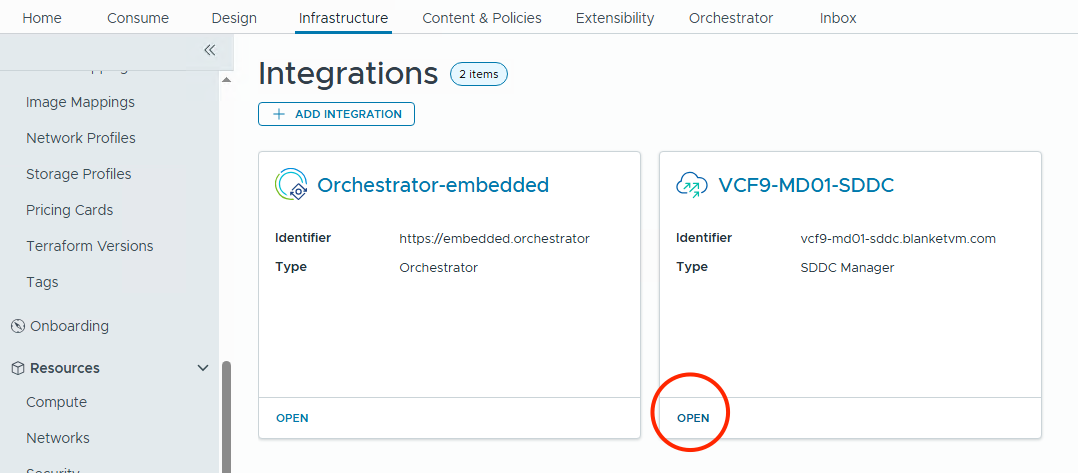
And switch to the Workload Domains tab.
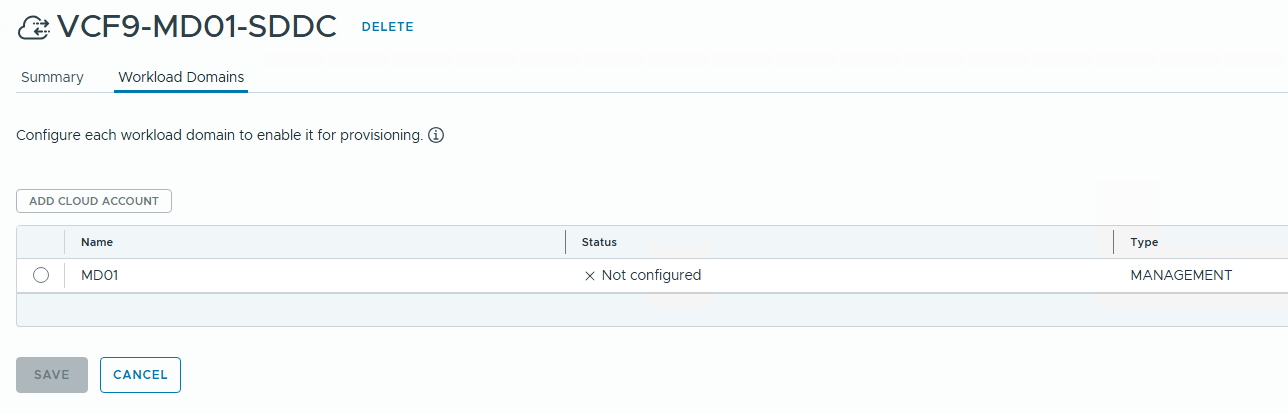
- Select all workload domains that you want to automate (in my case, there is only one, the management domain).
ClickAdd Cloud Account.
- It will transfer you to the Add New Cloud Account wizard. Fill all necessary fields to integrate with vCenter and NSX for selected domains.
Name: The integration name.
Description: Description for integration.
Auto Configuration: Select that checkbox to automatically create service accounts. If you do not select that checkbox, you will need to provide accounts and passwords manually.
Create and Validate Service Credentials: It will create a service account (connected with the selected checkbox above).
Capability tags: env:vcf (that’s my own tag that I will use later. Check the documentation on how to use Capability Tags.
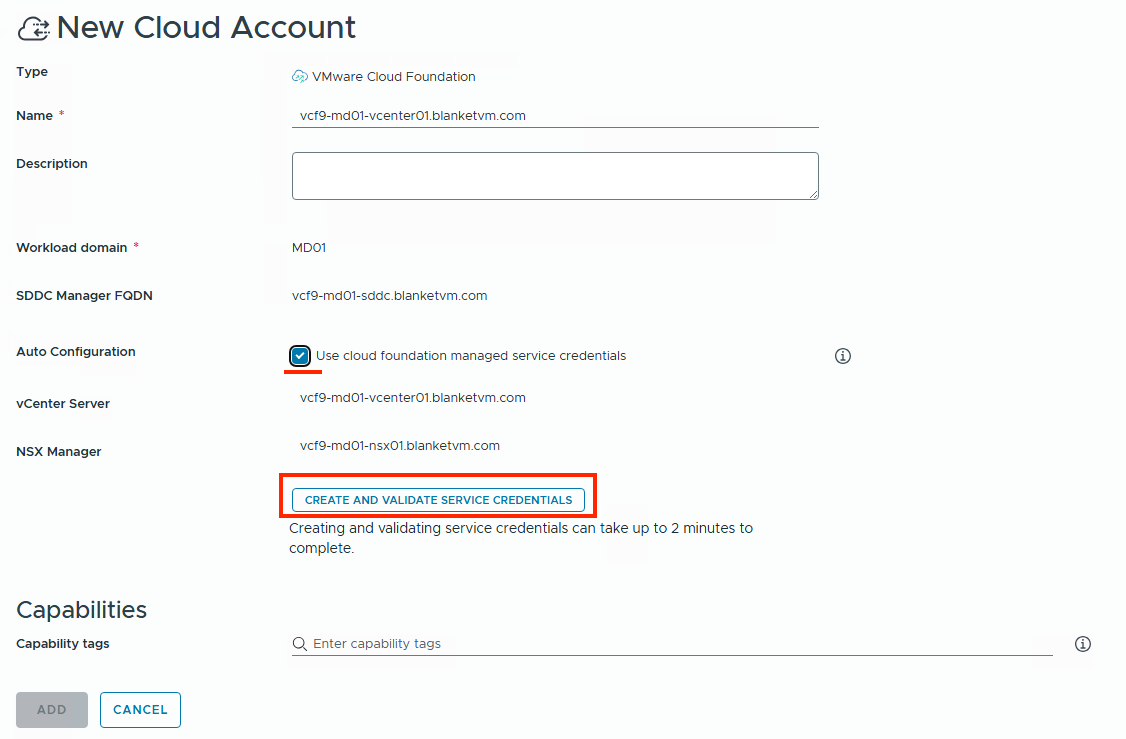
When you click on Create and Validate Service Credentials, you will see service usernames.

- Click the
Addbutton and finish the configuration.
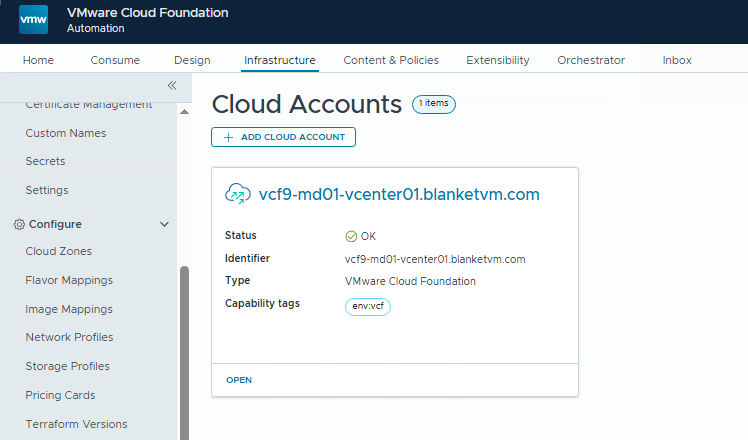
Conclusion:
In this part of the VCF 9 Deployment series, we established a VM Apps Organization as the foundation for streamlined VM-centric automation within VMware Cloud Foundation. By choosing this organization type, we focused on simplifying and securing virtual machine lifecycle operations tailored to vSphere-based infrastructure.
We also integrated VCF Automation with key components of the SDDC stack, including:
- Embedded Orchestrator for extensibility and custom workflows,
- SDDC Manager for centralized infrastructure management, and
- vCenter/NSX Managers for the Management/Workload Domains.
These integrations enable seamless provisioning, governance, and automation across your private cloud, aligning with infrastructure-as-code and self-service principles. With this groundwork in place, future automation tasks—such as catalog-based provisioning, policy enforcement, and lifecycle workflows—can now be executed with greater consistency and control.
Stay tuned!

Awesome reference….Very informative. Thanks.
LikeLiked by 1 person