
Introduction
It’s time to complete the Single Sign-On (SSO) integration across the platform by configuring identity federation for VCF Automation.
VCF Automation plays a central role in enabling self-service provisioning, governance, and infrastructure-as-code workflows within VCF. Integrating it with your enterprise identity provider via the VMware Identity Broker ensures that all automation workflows and service access are governed by the same secure, centralized authentication system already used by vCenter, NSX, VCF Operations, and VCF Operations for Logs.
In this post, you’ll learn how to (for the Provider Management portal):
- Prepare VCF Automation for identity integration
- Connect it to the Identity Broker and your corporate IdP (e.g., ADFS, Entra ID, Okta)
- Assign and map user roles and permissions
If you didn’t see previous posts, go to:
VCF 9 Deployment PART1: Topology, ESX Host Preparation and VCF Installer deployment
VCF 9 Deployment PART2: VCF deployment
VCF 9 Deployment PART3: VCF Operation for Logs deployment.
VCF 9 Deployment PART4: VCF Single Sign-On configuration (Identity Broker and vCenter).
VCF 9 Deployment PART5: VCF Single Sign-On configuration (NSX Manager).
VCF 9 Deployment PART6: VCF Single Sign-On configuration (VCF Operations).
VCF 9 Deployment PART7: VCF Single Sign-On configuration (VCF Operations for Logs).
VCF SSO – VCF Automation
- Log in to the VCF Operations that was deployed in the second part using the user:
admin. In my case, it is
https://vcf9-md01-vrops01a.blanketvm.com.

- Go to
Fleet Management -> Identity & Access -> VCF Management -> Automation Appliance -> click Continue.

- Select the
Identity Brokerinstance and then clickConfigure. Configuration will be done automatically.

Read the Role Assignment note and click Continue.

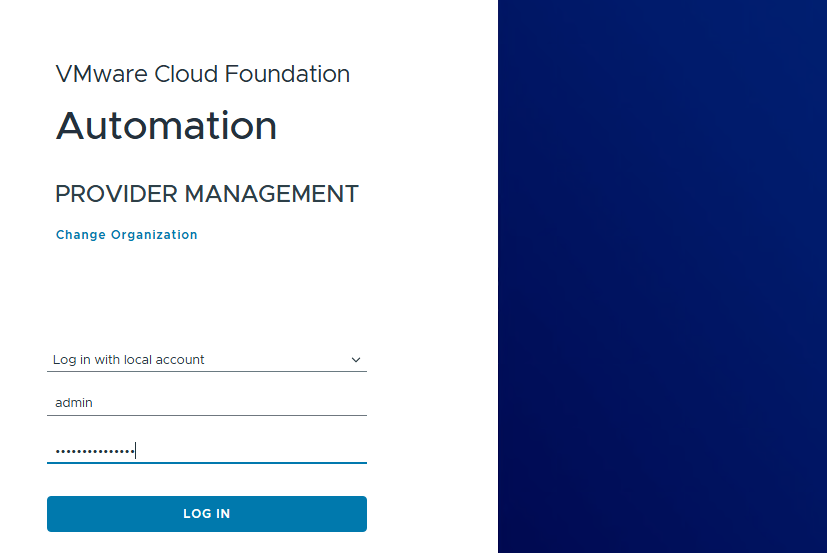
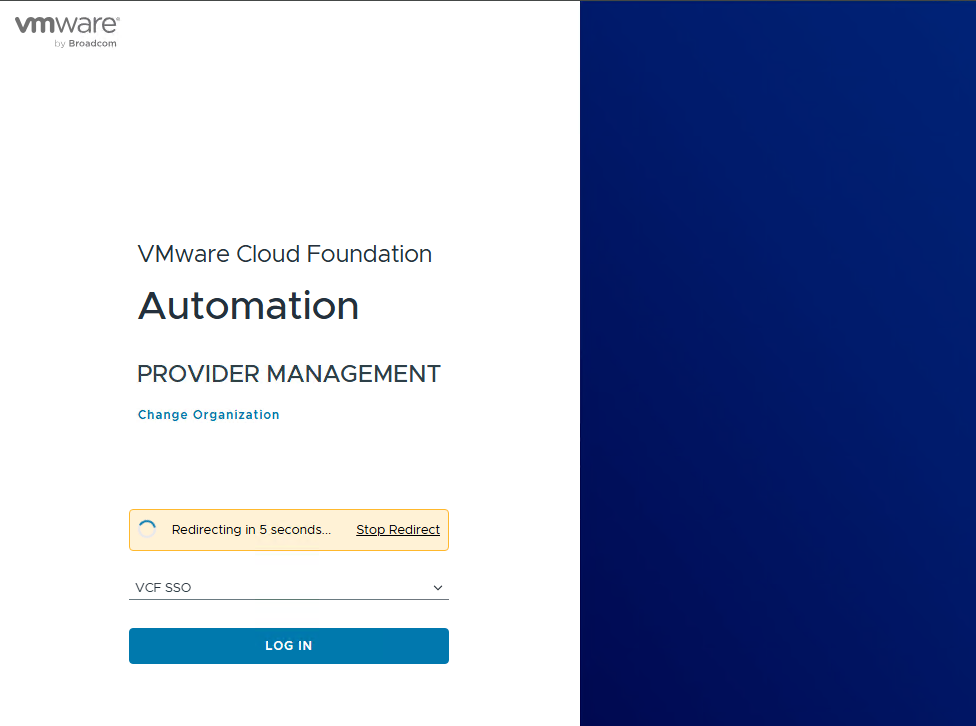
- Go to the
VCF Automation Provider Management URLand change the login method toLocal Account(VCF SSO is configured, but we need to assign permissions yet).
In my case, the URL is:
https://vcf9-md01-vra01a.blanketvm.com/provider

- Log in using the local
adminaccount.
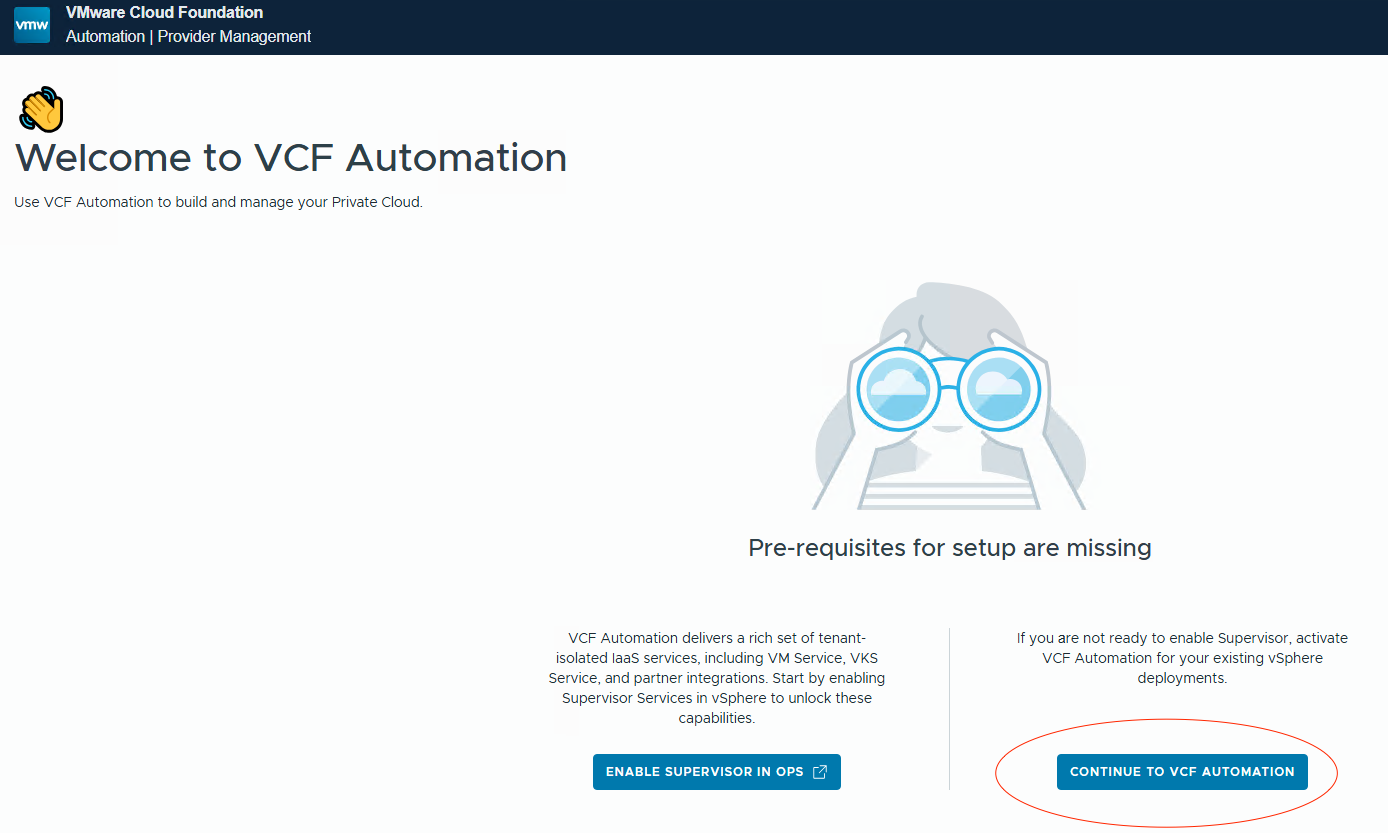
- After logging in, select the
Continue to VCF Automationbutton.
- Select
Identity Provideron the left side and confirm that VCF SSO is configured.

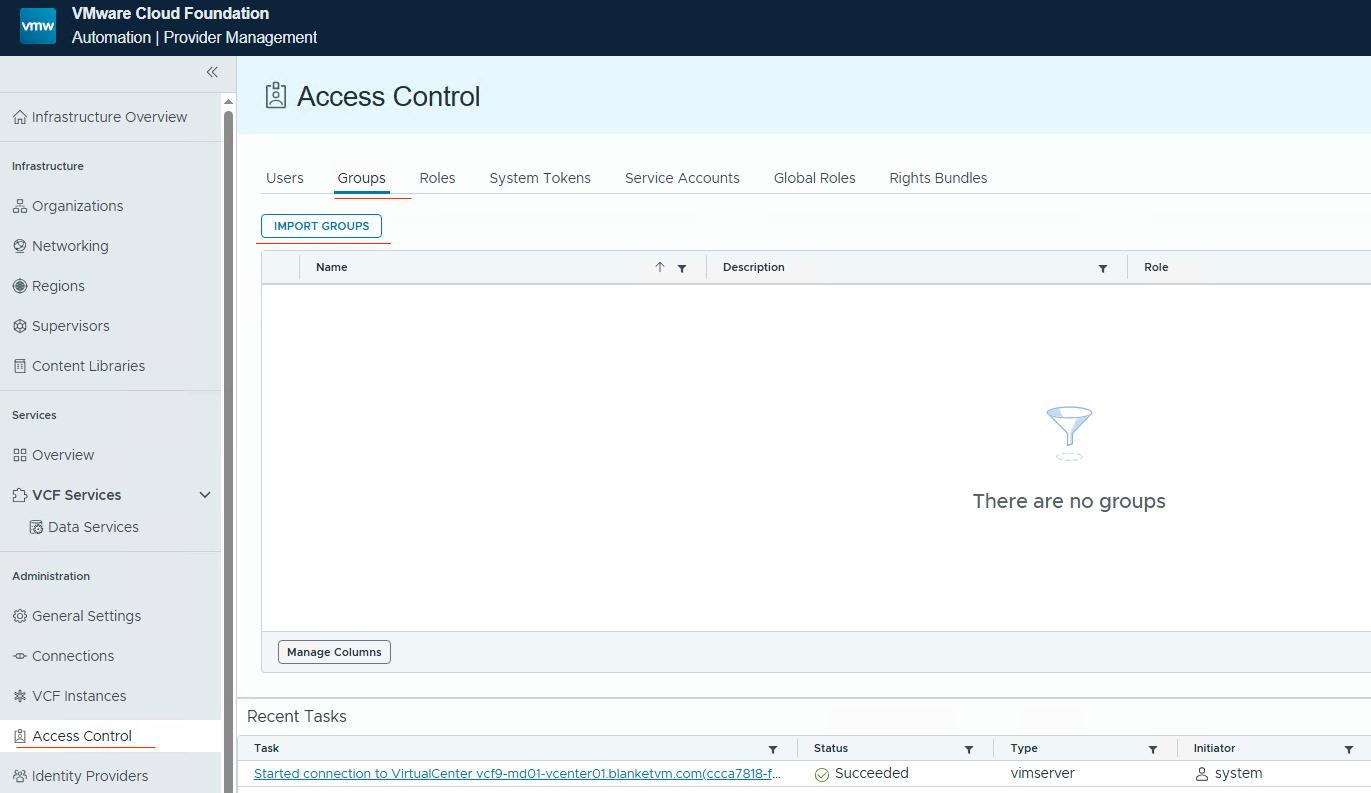
- Select
Access Control on the left pane -> Groups tab -> Import Groups.
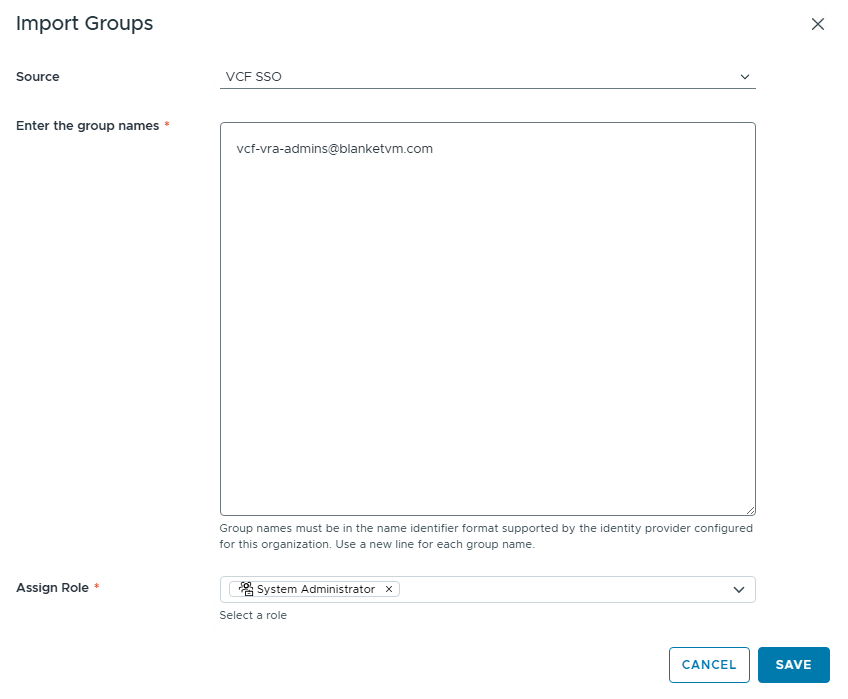
- Select
VCF SSOas a source and enter all group names for which you want to assign permission.
NOTE: You must enter the full name as UPN. There is no search.
Then select theRolesthat you want to assign to the group.
To understand the Roles and Permissions concept in the VCF Automation, go to:
https://techdocs.broadcom.com/us/en/vmware-cis/vcf/vcf-9-0-and-later/9-0/provider-management/managing-system-administrators-and-roles/managing-rights-and-roles.html
https://techdocs.broadcom.com/us/en/vmware-cis/aria/aria-automation/all/cloud-assembly-user-roles-what-are.html
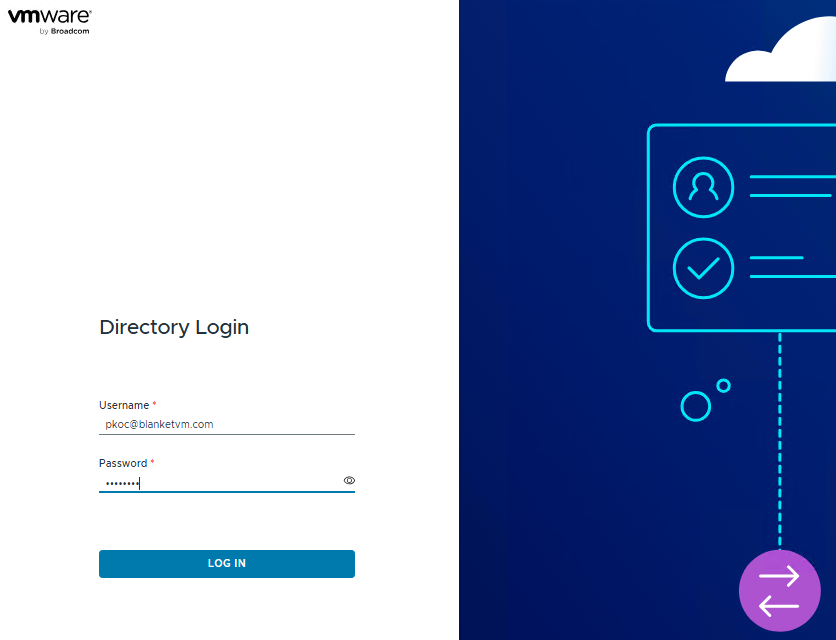
- Log out of VCF Automation and log in using the
VCF SSOmethod.
And success.
Conclusion:
In this post, we finalized the Single Sign-On (SSO) configuration for the VCF Automation. With SSO now fully integrated, your environment is ready for consistent authentication experiences and simplified user management. In the next steps, we’ll shift focus to further post-deployment configurations to complete and validate the VCF platform.
Stay tuned!

2 thoughts on “VCF 9 Deployment PART8: VCF Single Sign-On configuration (VCF Automation).”