
Introduction
Continuing with the Single Sign-On (SSO) integration across the VMware Cloud Foundation (VCF) 9 stack, this part of the series focuses on configuring identity federation for VCF Operations (formerly Aria Operations). VCF Operations plays a critical role in providing intelligent analytics, performance monitoring, and capacity planning across your cloud infrastructure.
To maintain a consistent and secure user experience, it’s essential to ensure VCF Operations uses the same centralized identity provider as other VCF components. By integrating it with the Identity Broker, we eliminate the need for managing local accounts and enable seamless authentication through your enterprise identity provider (e.g., Active Directory Federation Services, Entra ID, or Okta).
In this post, we’ll cover:
- Step-by-step configuration of identity federation
- Role mapping and access control setup
By the end, VCF Operations will be securely integrated with your SSO environment, ensuring consistent access control across the entire VCF platform.
If you didn’t see previous posts, go to:
VCF 9 Deployment PART1: Topology, ESX Host Preparation and VCF Installer deployment
VCF 9 Deployment PART2: VCF deployment
VCF 9 Deployment PART3: VCF Operation for Logs deployment.
VCF 9 Deployment PART4: VCF Single Sign-On configuration (Identity Broker and vCenter).
VCF 9 Deployment PART5: VCF Single Sign-On configuration (NSX Manager).
VCF SSO – VCF Operations
- Log in to the VCF Operations that was deployed in the second part using the user:
admin. In my case, it is
https://vcf9-md01-vrops01a.blanketvm.com.

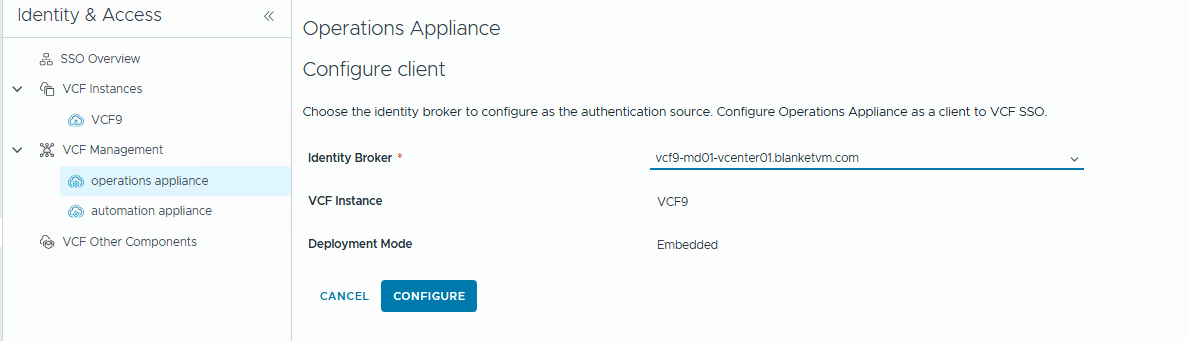
- Go to
Fleet Management -> Identity & Access -> Expand VCF Management -> Select Operations Appliance -> and click Configure.

Select Identity Brokerinstance from the list and clickConfigure.
- Confirm the
Role Assignmentrequirement and clickContinueand wait until theIdentity Brokerappears on the list.


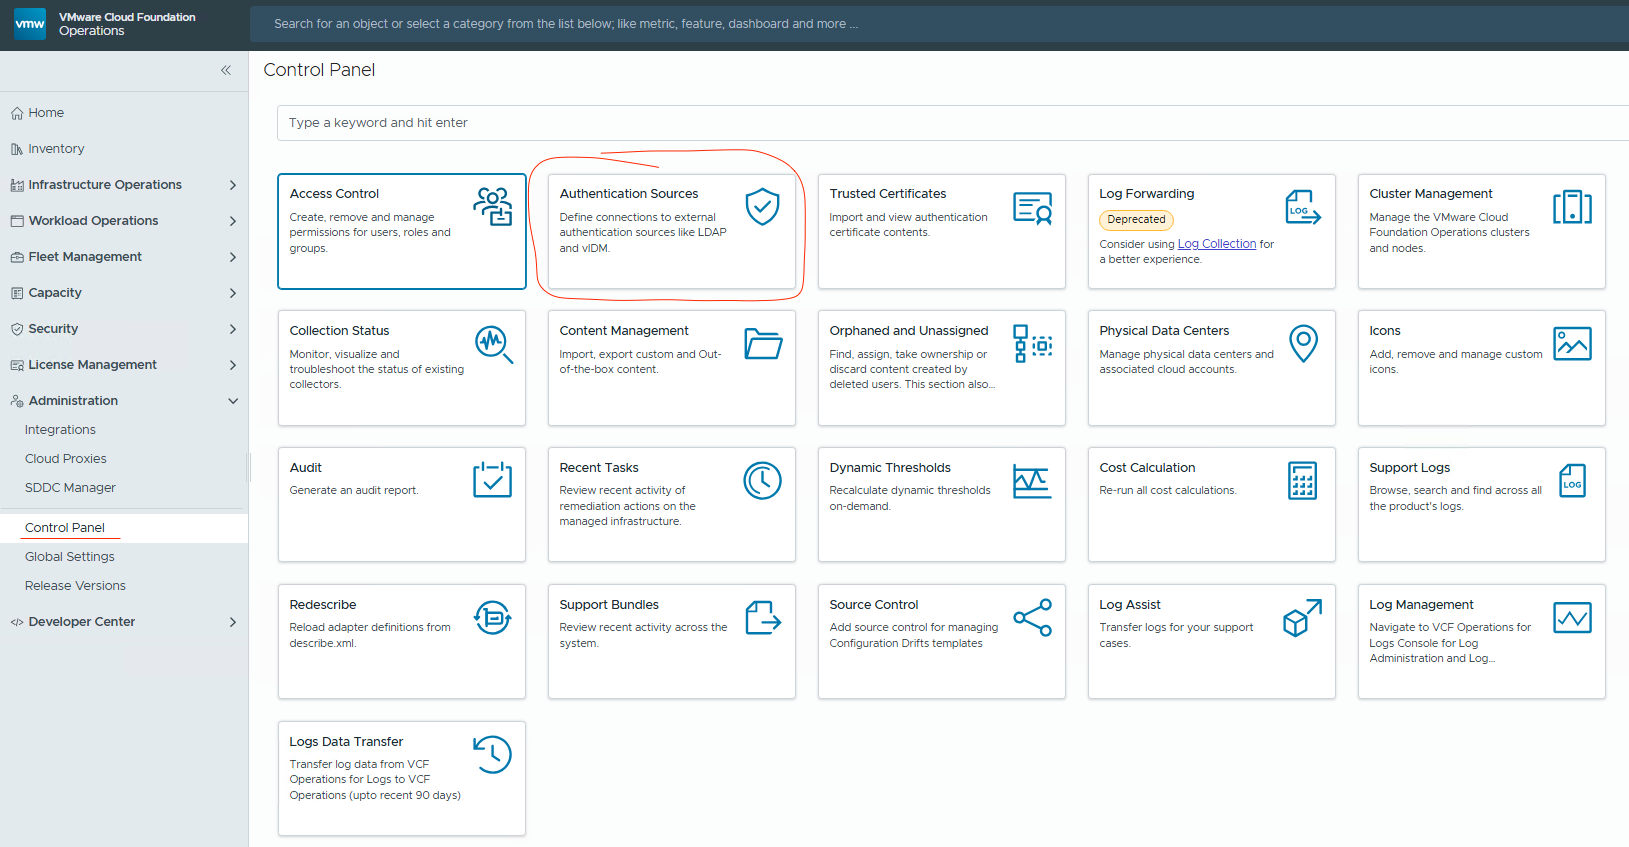
- Go to
Administration -> Control Panel -> Authentication Sourcesand confirm thatVCF SSOappears on the list.

- We can now import Active Directory users and groups and assign the required permissions.
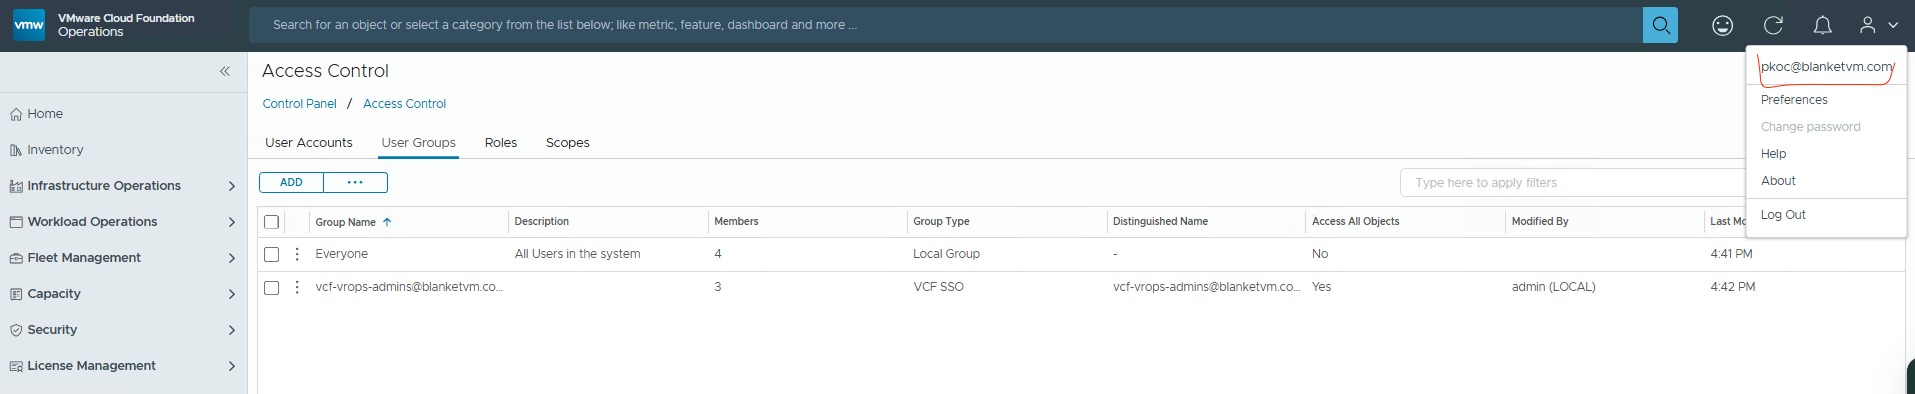
Go back toAdministration -> Control Panel -> Access Control.

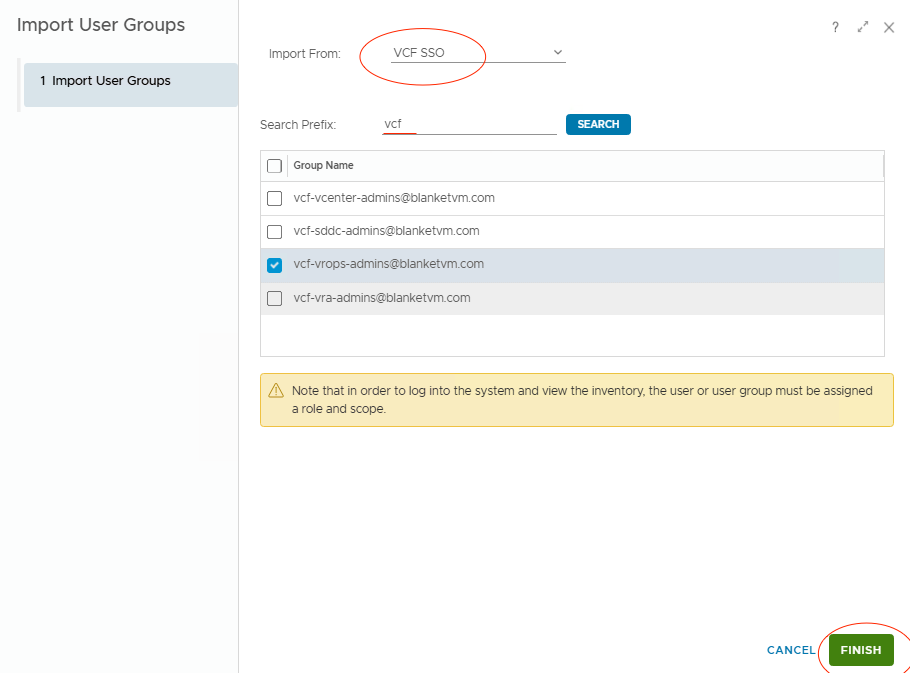
- Do not click the
Addbutton. It adds local groups. Instead of this, click on3 dots -> Import from Source.

- Select VCF SSO as a source and search for the required groups. Then click
Finish.
- Ok, now we have imported the group, but what about permissions? To understand the Permissions model in the VCF Operations, please go and read this documentation:
https://techdocs.broadcom.com/us/en/vmware-cis/vcf/vcf-9-0-and-later/9-0/infrastructure-operations/-configuring-administration-settings/managing-user-access-control/access-control-overview.html
Let’s add permissions to our group.Select group -> click 3 dots -> Edit.

- In this step, we need to assign the Role and Scope.
A role defines the actions a user can perform within the system. Scope limits those actions to the limited scope of objects.
At the end, clickSave.

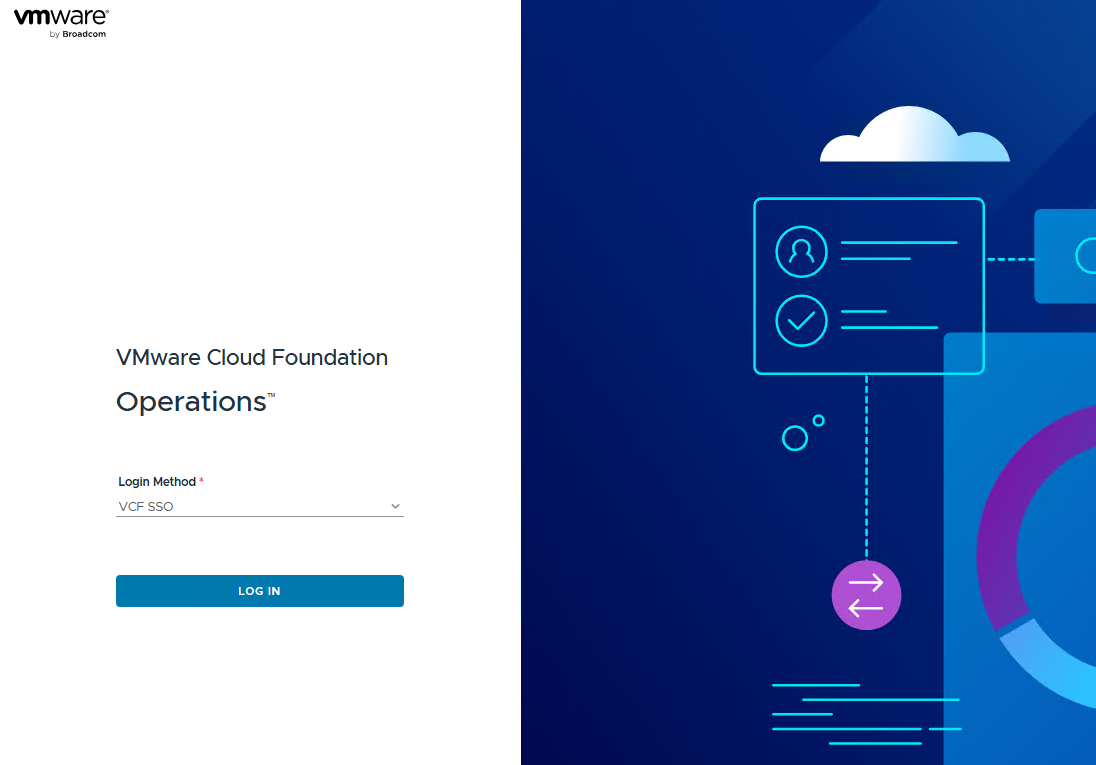
- Log out and log in again using the VCF SSO method. And success.
Conclusion:
With SSO now configured, your VCF environment is better prepared for centralized identity management and future integrations. In the next posts, we’ll continue to enhance the platform’s operational readiness by exploring additional post-deployment configurations.
Stay tuned!

4 thoughts on “VCF 9 Deployment PART6: VCF Single Sign-On configuration (VCF Operations).”