
Introduction
As we continue to build out our VMware Cloud Foundation (VCF) 9 environment, the next step is to extend Single Sign-On (SSO) integration to NSX Manager. NSX is a core component of VCF, providing software-defined networking and security services; aligning it with centralized authentication is essential for secure and consistent administrative access.
In this part of the series, we’ll walk through the process of configuring identity for NSX Manager using the VMware Identity Broker introduced in earlier steps. This integration allows administrators to authenticate using their enterprise identity provider (e.g., Active Directory Federation Services, Microsoft Entra ID, Okta) rather than managing local NSX accounts — a key step toward unified access control across the VCF management stack.
You’ll learn how to:
- Connect NSX Manager to the Identity Broker
- Assign roles and verify access using federated login
By the end of this guide, NSX Manager will be fully integrated into your SSO landscape, providing a seamless and secure login experience for all authorized users.
If you didn’t see previous posts, go to:
VCF 9 Deployment PART1: Topology, ESX Host Preparation and VCF Installer deployment
VCF 9 Deployment PART2: VCF deployment
VCF 9 Deployment PART3: VCF Operation for Logs deployment.
VCF 9 Deployment PART4: VCF Single Sign-On configuration (Identity Broker and vCenter).
VCF SSO – NSX Manager:
- Log in to the VCF Operations that was deployed in the second part using the user:
admin. In my case, it is
https://vcf9-md01-vrops01a.blanketvm.com.

- Go to
Fleet Management -> Identity & Access -> Select VCF Instance -> Component Configuration tab -> Select NSX Manager and click Configure Component.
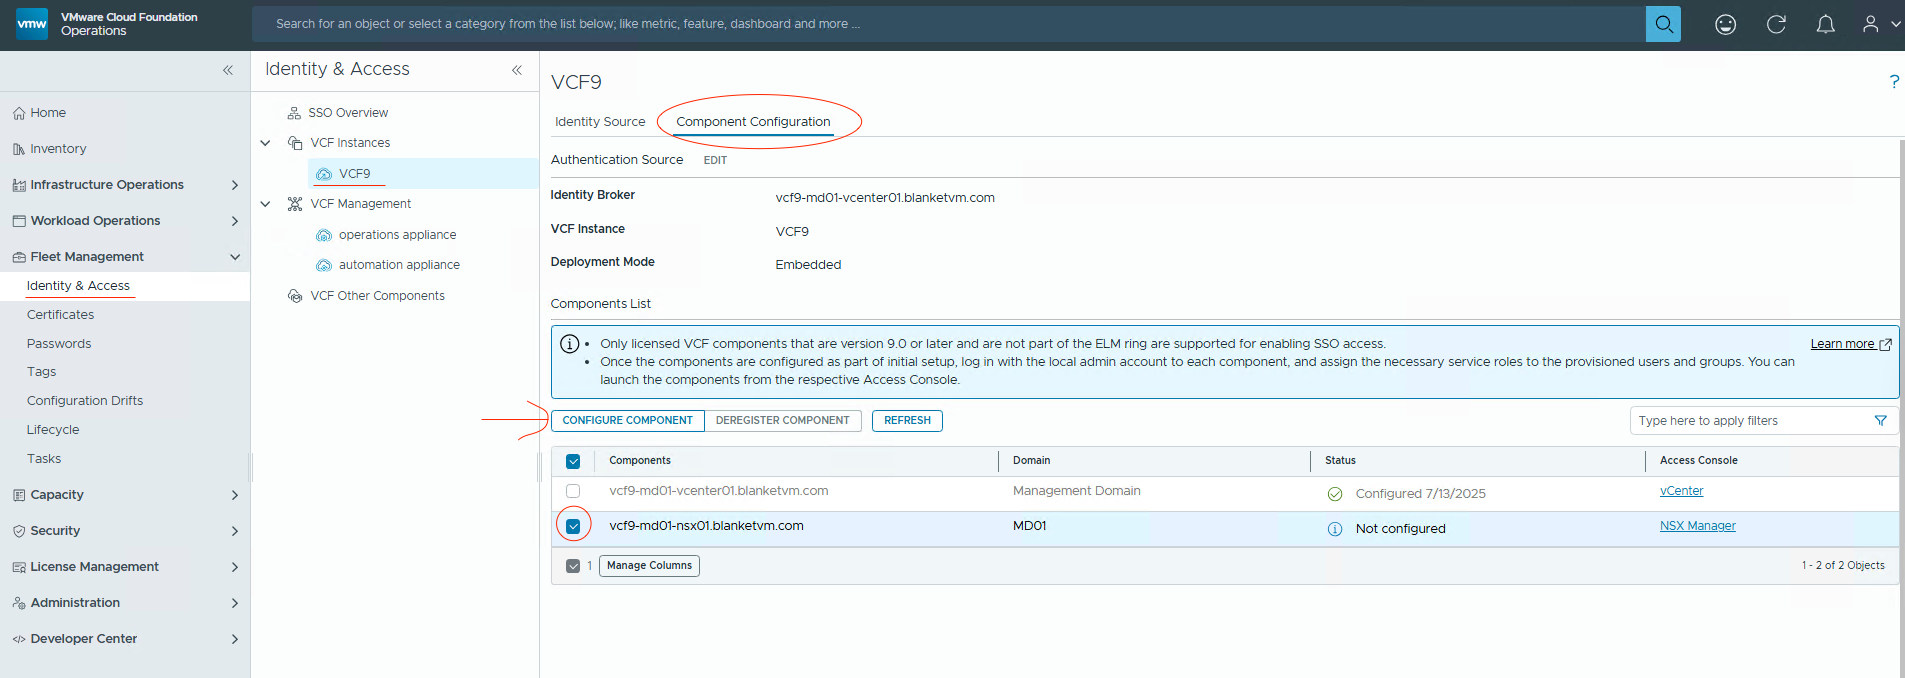
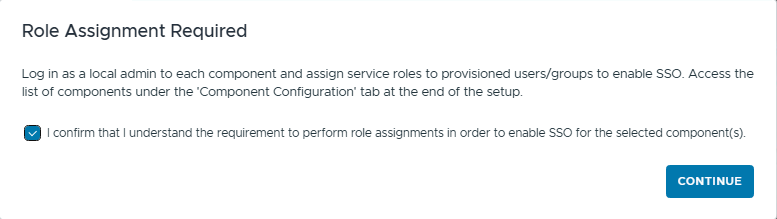
When a Role Assignment popup appears, click Continue.
- Wait until the component configuration finishes. You will see the component status as shown in the screenshot below.


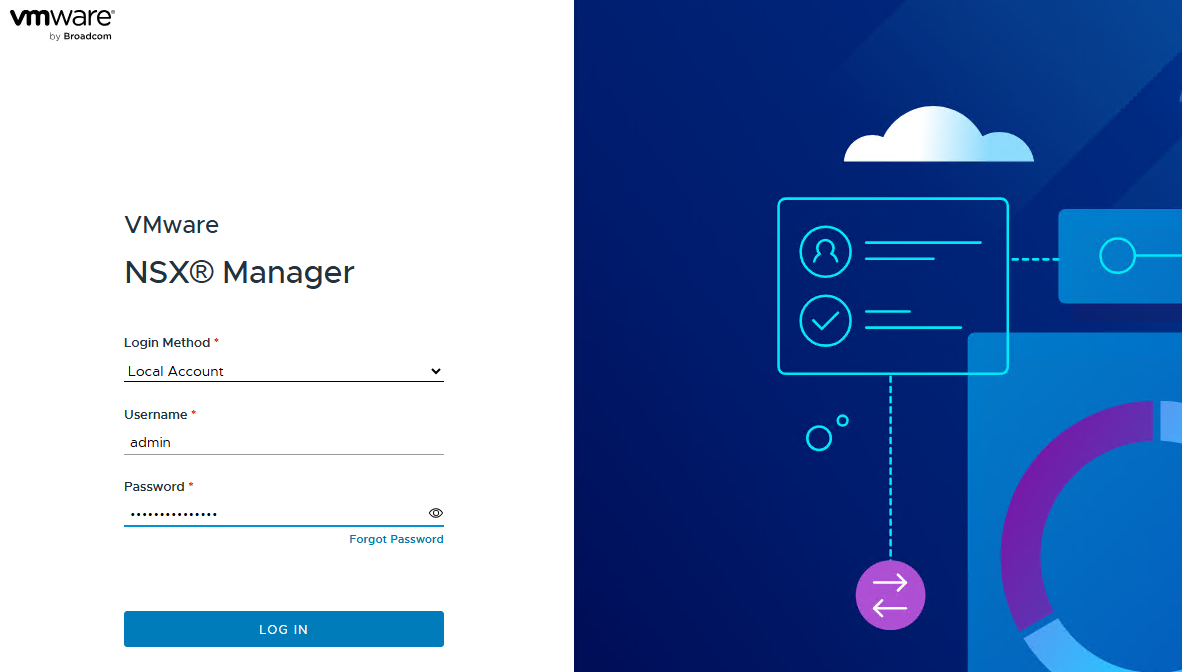
- Now, we need to assign permissions on the NSX Manager site. Go to NSX Manager URL, in my case:
https://vcf9-md01-nsx01.blanketvm.com
You can see VCF SSO as a login method. Switch to Local Account and log in as aadminuser.

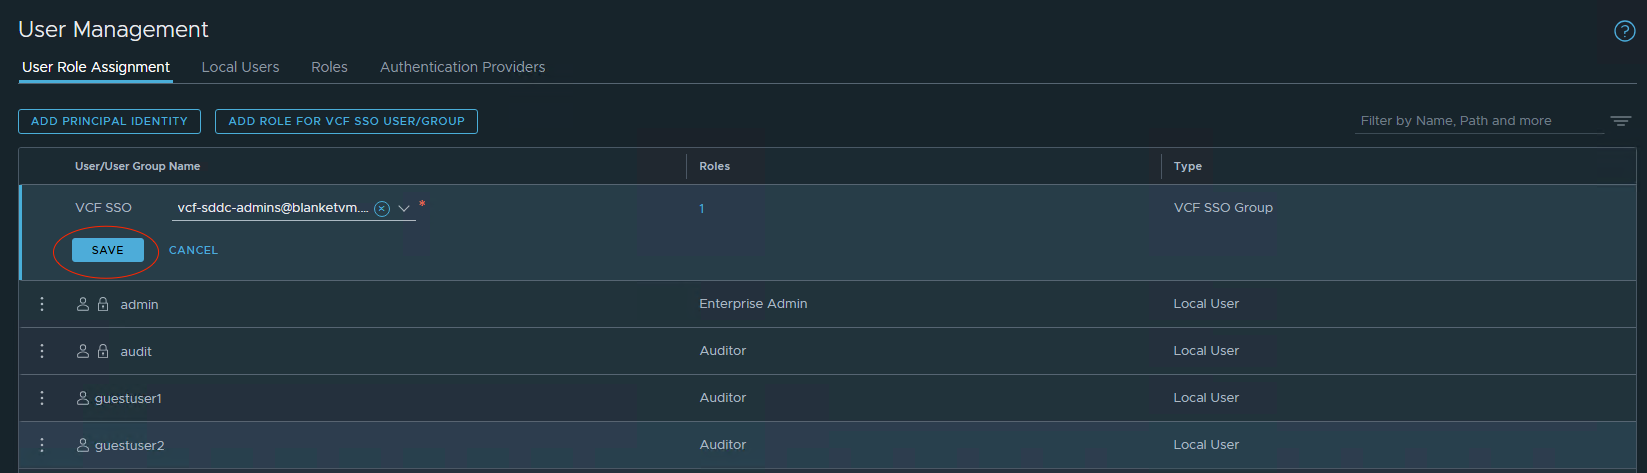
- Go to
System tab -> User Management -> User Role Assignment -> Add Role for VCF SSO User/Group.
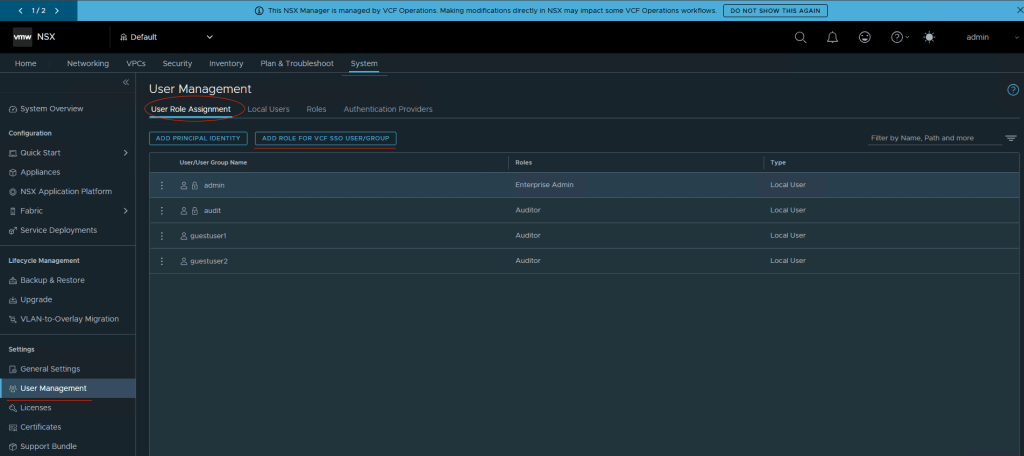
- Search for the domain user or group, in my case:
vcf-sddc-admins@blanketvm.com
Select the domain user/group, and then click theSetbutton.

- Click the
Add Rolebutton. To see more details about the available roles, go to:
https://techdocs.broadcom.com/us/en/vmware-cis/nsx/vmware-nsx/4-2/administration-guide/authentication-and-authorization/role-based-access-control.html
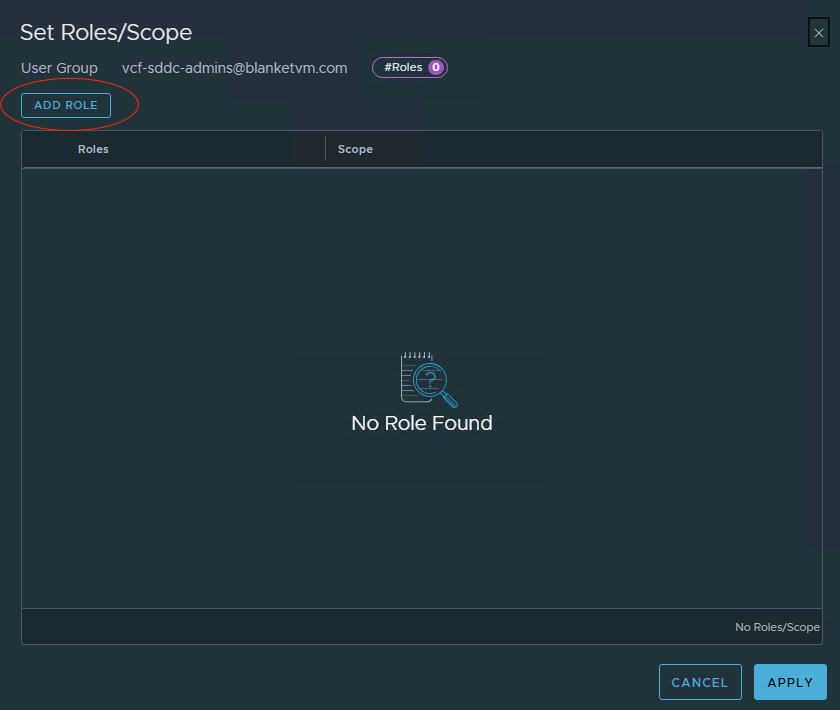
- Select the role that you want to assign and click
Add.

And then Save.
You should see a message for a few seconds that the user/group has been successfully added.

- Log out of NSX Manager and open the login page once again. You should see the VCF SSO method available.
NOTE: If you are logged in using VCF SSO to another component in the same browser session, NSX Manager will log you automatically.
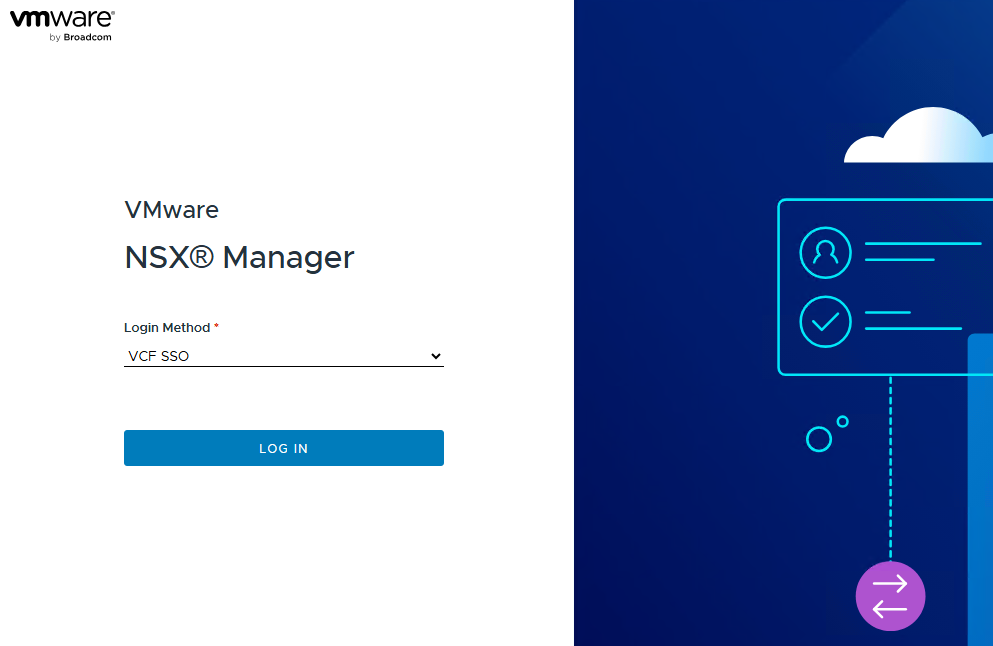
Type username and password, and SUCCESS!

Conclusion:
Integrating NSX Manager with your centralized identity provider through VMware Identity Broker is a crucial step in unifying access across your VCF 9 environment. By enabling Single Sign-On (SSO), you ensure that network administrators can securely and seamlessly access NSX without relying on local credentials, improving both security posture and operational efficiency.
In the following parts of this series, we’ll continue extending SSO integration to additional VCF components, further building a cohesive and secure cloud foundation.
Stay tuned!

5 thoughts on “VCF 9 Deployment PART5: VCF Single Sign-On configuration (NSX Manager).”